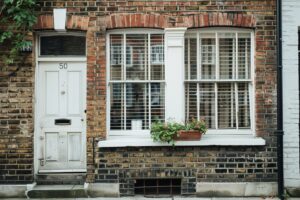
If you live in a Victorian terrace, a Georgian townhouse, or any period conversion built before the First World War, there is a reasonable chance you are cohabiting with sash windows – and an equally reasonable chance that the upper sash of at least one of them hasn’t been properly cleaned since the previous occupants left. Possibly the ones before them. Sash windows are among the most beautiful features London’s residential streets have to offer: those elegant sliding frames, the generous proportions, the way they frame a view like a considered painting. The difficulty arrives when you realise that beauty comes with a mechanical complexity most homeowners prefer to ignore. This guide covers exactly what makes sash windows so awkward to clean, the tools that actually help, and a method that addresses the whole window – including, yes, that upper sash.
What Are Sash Windows? A Brief Architectural Primer
The Mechanics Behind The Elegance
A sash window consists of two framed panels – called sashes – that slide vertically within a fixed outer frame. The lower sash moves upward; the upper sash moves downward. Both are counterbalanced by weights concealed inside the frame, connected via cords running over pulleys at the top of the box frame. In a properly functioning window, those weights keep the sashes exactly where you position them rather than crashing down with the enthusiasm of a dropped guillotine. The design dates to the late seventeenth century and became the dominant window style across British residential architecture for roughly two hundred years. Walk down almost any pre-war street in Islington, Hackney, Kensington, or Lewisham and you are looking at the same system repeated across every terraced facade. They are, in short, absolutely everywhere in London – which makes understanding how to clean them properly rather more than a niche concern.
Why They Reward Attention
Sash windows offer genuine virtues beyond their looks. Opening both sashes simultaneously creates a natural convection effect – warm air exits from the top whilst cooler air enters from the bottom – that ventilates a room with quiet efficiency. The proportions of Georgian examples are mathematically considered in ways that give rooms a quality of light modern window designs rarely replicate. The complications only emerge when you approach them with a bucket and squeegee and begin to understand, gradually and with mounting frustration, that accessing all four surfaces is a genuinely interesting spatial problem.
The Specific Challenges Of Cleaning Sash Windows
The Upper Sash – London’s Most Neglected Glass
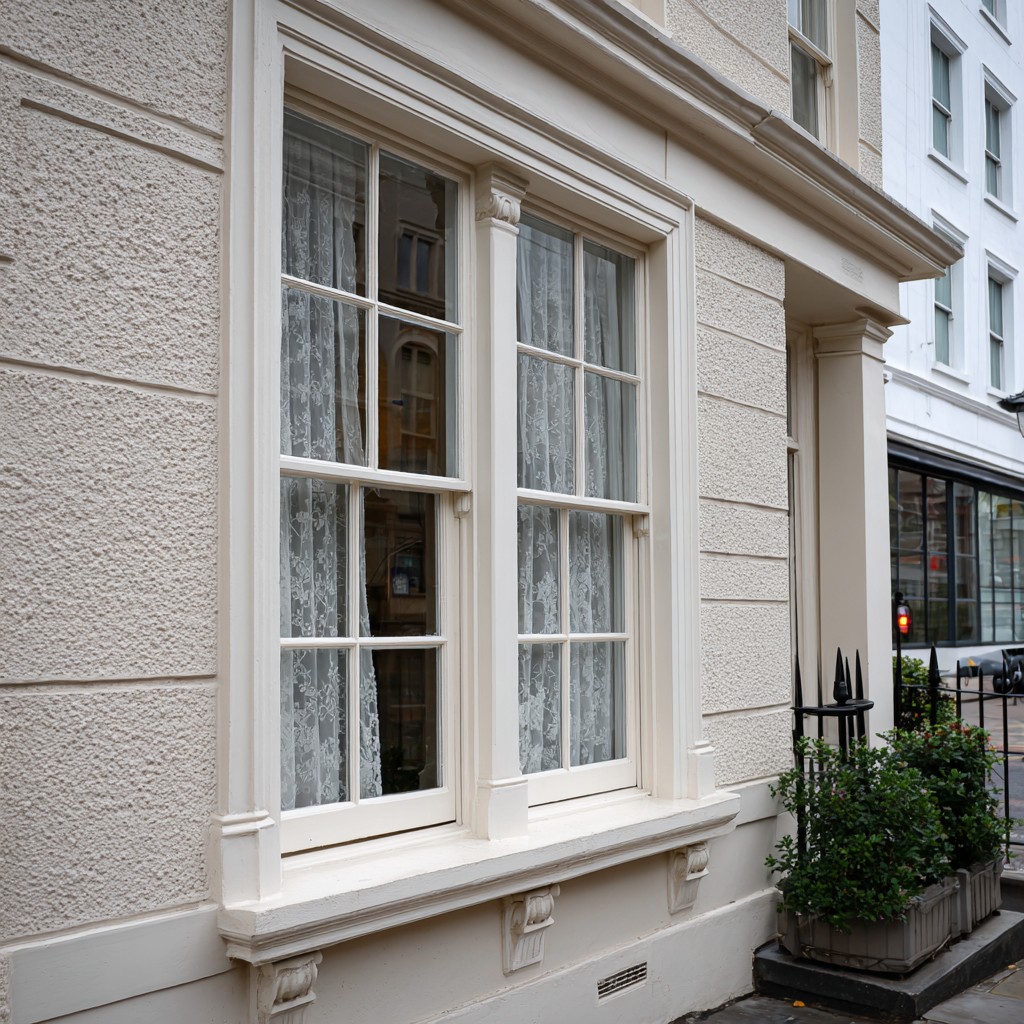
The lower sash gets cleaned. It opens easily, it is accessible from inside, and it presents no particular mystery. The upper sash is another matter. Because it slides downward to open, reaching its exterior surface from inside requires lowering it, leaning out at an angle your GP would not endorse, and somehow cleaning glass that is partially behind you. Most people don’t bother. The result is that the upper sash accumulates years – sometimes decades – of London’s particular cocktail of atmospheric pollution, traffic grime, and that generalised urban film that settles on everything exposed. When sunlight hits it at the right angle, the contrast with the cleaned lower sash is stark enough to be mortifying. Addressing it is not a cosmetic nicety but a fundamental part of actually cleaning the window.
Cords, Pulleys, And The Frame Interior
The cord-and-pulley system is elegant in theory and quietly infuriating in practice. The cords run along the sides of the sashes, disappear over pulleys at the top corners, and connect to cast-iron weights hidden inside the hollow box frame. The pulley housings, cord channels, and parting beads – the slim timber strips that separate the two sashes in their respective tracks – accumulate grime and are all awkward to reach with standard tools. The cords themselves attract dust and condensation residue with impressive dedication. Cleaning around them requires patience and restraint, because tugging too enthusiastically on an ageing sash cord is a reliable way to discover it needed replacing several years ago.
The Meeting Rail And The Overlap Zone
Where the top of the lower sash and the bottom of the upper sash meet in the closed position sits a horizontal zone of glass and timber that is inaccessible when the window is shut and easy to overlook when it isn’t. This is where condensation tends to collect, where paint has often been applied with more enthusiasm than precision, and where grime accumulates in a narrow band that neither squeegees nor standard cloths navigate well. It is the sash window’s equivalent of the jalousie’s gap trap: perfectly visible in raking light and awkward enough to tempt you into skipping it every time.
Tools And Solutions For Sash Windows
The standard window cleaning toolkit needs supplementing here. Small, flexible microfibre cloths that can be folded to a firm edge are essential – large floppy ones snag on hardware and won’t reach into tight corners. A detail squeegee of around 15cm works well on the glass panes; full-width versions are simply too wide for many period sash panels. A soft-bristled brush with a slim profile is invaluable for pulley housings, cord channels, and the edges of parting beads. Toothpicks or cocktail sticks wrapped in a small piece of microfibre can extract compressed grime from the innermost frame corners where cloths can’t fold tightly enough. For solution, warm water with a modest amount of washing-up liquid remains the most reliable option. London’s hard water makes adding white vinegar – roughly one part to ten – worth the effort, reducing the calcium spotting that appears as the glass dries. Avoid anything abrasive or solvent-based near painted timber frames; the consequences tend to be both irreversible and expensive.
Cleaning Sash Windows Step By Step
Starting With The Lower Sash
Begin with the lower sash interior, working from the top of the pane downward. Raise the lower sash as far as it will go – this gives you access to its exterior surface from inside the room without requiring acrobatics. Clean the exterior panes using the two-cloth method: one damp cloth to apply solution and loosen grime, one dry cloth following immediately to remove moisture and prevent streaking. Pay particular attention to the top rail of the lower sash, which faces upward and collects a disproportionate amount of airborne debris. Then clean the interior panes, working with the same top-to-bottom logic so that drips fall onto glass not yet cleaned.
Tackling The Upper Sash
Here is the technique that actually solves the upper sash problem. Lower the upper sash fully – it should slide down to a position where its exterior surface is reachable from inside the room without precarious leaning. Clean the exterior panes thoroughly whilst the sash is in this lowered position. Return it to closed, and clean the interior panes, which are now at a comfortable working height. The meeting rail area on both sashes should be addressed at this stage: use a firmly folded cloth to work along the horizontal timber and the narrow band of glass immediately adjacent to it on both sides. This is the section most people leave dirty without realising it, and attending to it makes the difference between a window that looks clean at a glance and one that holds up under scrutiny.
The Frame, Tracks, And Hardware
Once the glass is done, work through the frame components systematically. Use the soft-bristled brush to loosen dust from the pulley housings and cord channels before wiping them down. Run a folded cloth along the parting beads from top to bottom on both sides. Clean the sash tracks – the vertical channels in which the sashes slide – as these accumulate a dense mixture of grime and paint fragments that is invisible until it catches the light. Wipe the sash cords gently rather than scrubbing them. Finish with the outer frame and sill, working downward throughout. Step back and assess in direct light before closing the sashes, as this is when remaining streaks announce themselves with merciless clarity.
The Mistakes Worth Avoiding
Forcing a stiff upper sash is the most costly error. If it hasn’t moved in years, the cord may be frayed or the frame may have swollen – applying force resolves neither and often creates a third problem. Soaking the timber frame with cleaning solution is a close second; wood and prolonged moisture are poor companions, particularly in older frames where the paint layer is already compromised. Cleaning only the lower sash interior and declaring the job done accounts for perhaps half of all sash window cleaning attempts in London and leaves the actual problem untouched. Cleaning the glass whilst ignoring the frame components undermines the whole effort; grimy pulley housings and filthy sash tracks are visible at close range and tell the story of a clean that was only ever superficial. Finally, attempting to run a full-width squeegee across a narrow sash panel creates more streaks than it removes.
The Honest Verdict On Sash Windows
Sash windows reward the methodical and punish the hasty. Their cleaning logic is entirely consistent once you understand the geometry – lower sash raised, upper sash lowered, work from top to bottom, address the frame after the glass – but arriving at that understanding without guidance involves a fair amount of trial, error, and at least one afternoon wondering why the upper sash looks precisely as it did before you started. The mechanical components that make these windows such elegant objects to live with are the same ones that complicate cleaning them; the cords, pulleys, and parting beads are not obstacles so much as features to be worked around with the right tools and reasonable patience. Done properly and with some regularity, a sash window in good condition is one of the more satisfying things to maintain in any London period home. The architectural quality that makes them so enduringly prized – the proportions, the light, the quiet sense of history – is only fully visible when the glass is actually clean.